Tuesday, August 29, 2017

Harlow's Birth Story


Harlow Rae
April 7, 2017
21 Inches
7 Pounds 13 Ounces

So, I'm just going to preface this by saying, yes, I am well aware that Harlow is now almost 2 and a half years old, but it is really important to me that her story is written down. What better time to revisit her arrival into the world, then right before her little sister makes her grand entrance!

My due date was at the end of March, perfect timing to wear the "my first Easter" outfit that we had bought for her. However, already showing her independence and strong will, she decided that she was going to hang out for another 10 days. 

Finally, the day before I am set to get induced, I start getting minor contractions, still nothing big though. We went to the hospital for my weekly check up, deciding to walk around for a few hours after, trying to get things moving, instead of having to drive home just to turn around and come back a little bit later. When we went up to labor and delivery, they were having a slow day, and asked if I wanted to be admitted and induced then, instead of the next morning. Being 10 days late, and super over being pregnant, at this point, Matt and I obviously said a huge YES. 

I was admitted a little before 3 in the afternoon, and was 3 centimeters dilated. after filling out all of the paperwork and going over our birth plan, they started the Pitocin. Let me tell you guys, if you've never been induced with this stuff, it is no freaking joke. 

After about an hour and a half of laboring, I decided that it was time to ask for an epidural. Here's where it gets a little tricky...I have a pretty severe case of scoliosis. For those of you that don't know what that is, essentially, instead of being straight, my back is curved. But, like the overachiever that I am, not only do I have one curve (like most people with scoliosis) I have two, making my spine look like a backwards "S". I wore a back brace, for a year, in high school, to prevent it from getting worse, but since then it doesn't bother me at all....until epidural time. 

The anesthesiologist and his resident come in, explain the procedure, and explain that because of my scoliosis it make take a little bit longer to figure out where to insert the needle. At the hospital where we delivered, only the woman in labor and medical personnel can be in the room while the epidural is administered, since it is a sterile procedure. That being said, one of the lovely nurses escorts Matt to the waiting area, telling him that it should only take around 20 minutes tops. 

Fast forward to an hour, 3 numbing shots, and 3 attempts (where they actually stuck me) later, and they finally found the spot where it should work. Keep in mind my poor husband is still in the waiting area, after being told it should only take 20 minutes. Well, it definitely worked...on the left side of my body...the right side, however was definitely still feeling EVERYTHING. Matt comes back into the room, and helps the nurse and anesthesiologist get me to roll around hoping that the epidural will start to disperse to my right side. No luck. So the anesthesiologist goes to mix up a concoction that he is going to stick my other side with, and says he will be back within 15 minutes or so, great, no big deal! Except....

I tell the nurse that I really feel like I have to go poop, to which I am then informed, means that Harlow is ready to come out and it's almost time to push. She pages the doctor, who brings with her a handful of medical students (who were really excited to be there, since apparently most people don't consent to them observing...but at this point, my modesty has already long since gone to shit, so let's make it a party), and after breaking my water and 7 minutes with 3 or 4 pushes, the beautiful Harlow Rae announces with tons of screaming that she is here!! 

Unfortunately, the anesthesiologist came back AFTER I had pushed her out, ready to numb my right side. But as soon as I saw my amazingly gorgeous baby girl, none of that even mattered. 

Matt was a rockstar through the whole thing, doing whatever I needed and offering so much encouragement...especially since I am sure that I was not the nicest to him during some of the worst contractions.

I love my little family!

It's so surreal to think that in a few days we will be doing this crazy ride all over again for Teagan.

Sunday, October 2, 2016

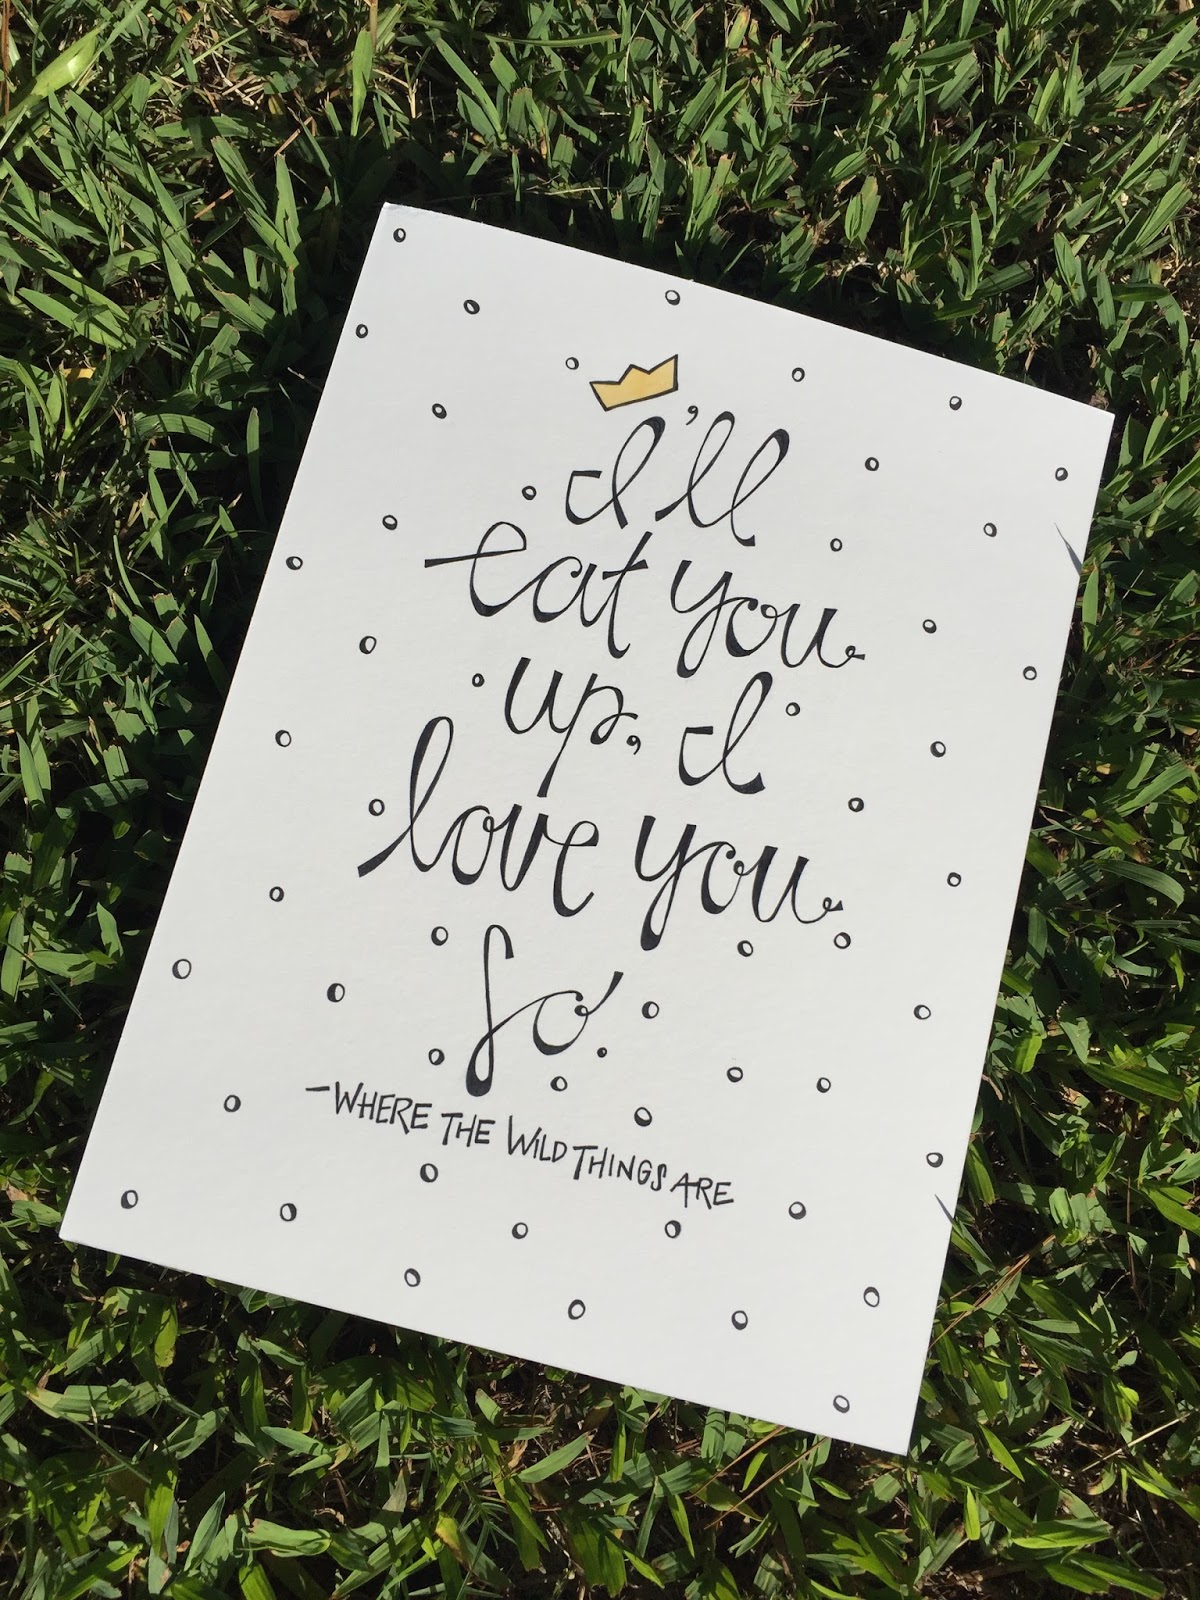
Where The Wild Things Are Printable


Every night before Harlow goes to sleep, we let her pick out a book for us to read to her. Cuddling up with her and a great children's book is one of the best parts of my day. Recently she has been really hooked on the classic, Where The Wild Things Are. Of course, I absolutely love this, since my parents used to read it to my siblings and me when we were kids. Her love of the book is so contagious, making me fall in love with it all over again. So naturally, I just had to break out my craft stuff and let that rediscovered love fuel my creativity.  

Since I know that Harlow and I can't be the only Where The Wild Things Are lovers out there, I am making my artwork available as a free printable. Want this beauty in your house? Download it here.

**This artwork was made by me, and is intended for your personal use only.

Sunday, August 21, 2016

Sunday Style Picks: Fall Accessories


flats // hat


School supplies line the aisles of target, leaves are about to start falling, and pumpkin spice everything is will soon grace us with it's annual appearance. What does all of that mean? That it's time to break out my fall wardrobe, of course.

Living in the south makes it difficult to really commit to wearing chunky sweaters and riding boots until at least October, since it is still so warm out...but never fear, I have a super simple solution!

 Shortly after I moved here a few years ago, I realized that the best way to start celebrating fall earlier than that is to find weather appropriate accessories in autumn colors and materials. These accessories can be mixed in with your transitional summer clothes, such as t-shirt dresses, or shorts and a chambray button-down shirt. Enjoy my first few fashion picks for the fall :)

Friday, August 12, 2016

Swoon-worthy Apple Pie


I don't know about you, but one of my favorite things about fall (and let's be real, I have a lot of love for all things related to fall), is apple pie. There is just something about the perfect flaky crust and the delicious combination of spices that gets me. This recipe is my go-to, especially since it has an mouthwatering cinnamon, brown sugar crumb topping.


Here it is before going into the oven :)


I promise, if you make this to bring to your fall gatherings, you will have people begging you for the recipe. Here is everything you need to bring this twist on a fall classic to your kitchen.

Swoon-worthy Apple Pie

Pie Filling ingredients:

     6-7 Granny smith apples
     3/4 C. Sugar
     1/4 C. Flour
     1 1/2 t. Cinnamon
     A pinch of Ground nutmeg
     A pinch of Ground cloves
     
     *1 Gallon-sized ziploc

Crust and Crumb Topping ingredients:

     1 Pillsbury pre-made pie crust (or you can use my favorite pie crust recipe from Add A Pinch)
     1 Stick Salted butter 
     1 C. Flour
     1/2 C. Brown sugar

Directions: 

1. Measure and combine the sugar, flour, cinnamon, nutmeg, and cloves in your ziploc bag. Close and shake.

2. Peel and slice your apples. place prepared apples into the ziplock and shake it again, until the dry ingredient mixture is evenly distributed on the apple slices.

3. Dump the contents of your ziplock into a microwavable bowl. Microwave for 3 minutes, stir, and microwave for an additional 3 minutes.

4. Preheat your oven to 425 degrees Fahrenheit.

5. Dust a little flour on the inside of your pie pan, and place your crust inside. Dump you microwaved pie filling into the crust. Set aside.

6. In a separate bowl, using a pastry cutter, cut together your butter, brown sugar, and flour. This is your crumb topping.

7. Sprinkle crumb topping onto your pie. Make sure that it is evenly distributed and covers the entire top of it.  

8. Bake in the oven for 18-20 min, or until your crumb topping is a golden brown.

**in order to avoid the edges of the crust burning, check the pie after 12 minutes. If the edges look golden brown, place a pie crust shield on it. This will allow the rest of your pie to finish baking, while at the same time giving you the perfect, flaky crust.

Happy baking!


Let's Go to the Garden

Recently the fam and I road tripped to Ohio to visit my parents and sister for a week. It was so great to visit with everyone, especially since a majority of my extended family also lives in that area. They live in the cutest little town that always has so many family friendly events going on, so needless to say we definitely took advantage of it all. One of Harlow's favorite activities was going on adventures around the 577 foundation.


The 577 foundation is a public park that is full of beautiful flowers, a greenhouse, a kids play area, and a river walk, among many other things. It is a magical place that makes you fall in love with the beauty of nature over and over again. 


It's always been really important to my husband and I that Harlow loves and understands the wonder and importance of the outdoors. In today's world it is way to easy to get so wrapped up in technology that enjoying nature becomes and afterthought. 


Needless to say, the 577 foundation really amplified Harlow's love of exploring. The children area is so great for all ages, and it will definitely be a stop for us overtime we visit!


If you ever find yourself in Northwest Ohio, do yourself a favor and swing by!


Sunday, July 31, 2016

Super Soft, Delicious Cut-out Sugar Cookies

Who doesn't go crazy over a good sugar cookie? Seriously, they are so good! For as long as I can remember, my sister and I have been making these cookies with my mom for every occasion. Christmas? Break out the sugar cookies! Easter? Hello, sugar cookies! College football Saturday? Cut-out sugar cookies! Random Tuesday? You guessed it...sugar cookies! Sounds crazy, right? But it's not, because they really are THAT good. Recently we whipped up a batch for Harlow's and Julie's Flowers and Flamingos party.


So, without further ado, here is the recipe, so that you can enjoy these with your family and friends too!

Every Occasion Sugar Cookies

Cookie ingredients:

     3 C. All-purpose Flour
     3/4 t. Baking soda
     3/4 t. Baking Powder
     1/4 t. salt
     1 C. Salted Butter
     2 Large eggs
     1 C. Sugar

Buttercream frosting ingredients:

     1/3 C. Salted butter, softened
     2 C. Powdered sugar
     1 t. Madagascar burbon vanilla extract *
     1/4 t. Salt
     2-3 T. Milk **

*You can use regular vanilla extract instead, but it won't be as flavorful

**start with 2 T and add more slowly to get the consistency that you desire

*** Yes, I know that most sugar cookie and buttercream frosting recipes don't use salted butter, but trust me, it gives the cookies that extra little boost that will have people asking left and right for the recipe.

Directions: 

1. Mix flour, baking soda, baking powder, and salt. 

2. Cut it butter.

3. In a separate bowl, mix eggs and sugar.

4. Add the dry ingredients and mix until everything is throughly combined. 

5. Refrigerate 4-6 hours (you can throw it in the freezer for 30 minutes to an hour in a pinch).

6. Pre-heat your oven to 350 degrees Fahrenheit.

7. Roll out dough on a floured surface, until you reach a thickness of 1/4 inch. Cut out and bake for 7-9 minutes, or until the bottoms edges of your cookies are slightly golden. Let cool.

8. Combine all frosting ingredients in a bowl. Mix together until your desired consistency is reached. add in your food coloring and get creative with your cookie designs! 

Enjoy!


Saturday, May 28, 2016

Off to Ohio State University (For the Weekend)

Harlow and I made a quick trip to Columbus, Ohio a few weeks ago for my sister, Julie's, graduation. Yes, you read that right...a few weeks ago...I've been slacking on posting this, but hey, better late than never, right?


Anyways, we are so proud of Julie for graduating with her bachelor's in mechanical engineering. You are going to do so many great things in life, starting with rocking law school next year! 

Since graduation wasn't until Sunday, we got to spend our Saturday exploring the beautiful city of Columbus. Our first stop was North Market, which is an AMAZING covered market filled with any restaurant and shop you can imagine. Seriously, if you ever find yourself anywhere close, do yourself a favor and stop. I promise, you won't regret it. Harlow especially loved the waffle cone left over from my Churro ice cream from Jeni's Ice Cream. 


After North Market, we all wandered around the surrounding area, which is filled with unique shops and bars. Little Miss H caught a ride on Uncle Nick's shoulders, while I shopped (I know, me, shopping...SHOCKING...not). Quite the treat since we don't get to see him often. 


We ended the day at a meade bar, Brother's Drake. Everything there was so delicious! So much so, that I ended up buying a few bottles to take home for the Hubster. Needless to say, he loved the surprise! Pro tip: Add an ounce of whiskey to apple pie meade, especially if it is super sweet...try it, straight up magic. 


Sunday we ventured out to The Shoe, OSU's famous football stadium. Ohio State is a huge school, so naturally, it was packed for the graduation festivities. Harlow got to put her new favorite thing, enthusiastically clapping, to good use, cheering for Aunt Julie...and taking a few play breaks to run around the stadium walkways. 


Seriously, look at how crazy the stadium is!!


It was such a blessing to be able to celebrate Julie's huge accomplishment with everyone! Congrats Aunt Julie, we love you!